Alright, Im going to give a DIY post a shot here. My idea skills were challenged last week when it came into discussion about what to get for friends for their house-warming party. After browsing through Pinterest I saw some memory jars that were adorable! I thought it would be great to do a memory jar for our friend, but that didn't really encompass the guy that she was moving in with so I thought a small memory jar for her, and a large memory jar that they could fill in together would be super cute!
We printed out some pictures of group shots (since this was a group gift) and went onto google maps and took a screen shot of her previous 3 houses, as well as this new apt. Since we had access to a laminating machine we laminated the pictures, although Im sure contact paper would work just as well. Since the jar was relatively small I made some of the pictures pretty small, and made some of them double sided so as to save space.
I bought the rest of the supplies at Michaels. I bought the two jars (about 7 and 10 dollars), fine purple sand, white rocky sand, sea shells, and fake small flowers. When picking the flowers I made sure that they would pull off the stems easily without green fake stems showing. I also bought some stickers from the scrapbook section from things that they liked. J is a teacher so I bought teacher themed stickers, as well as wine stickers because they both like to drink wine.
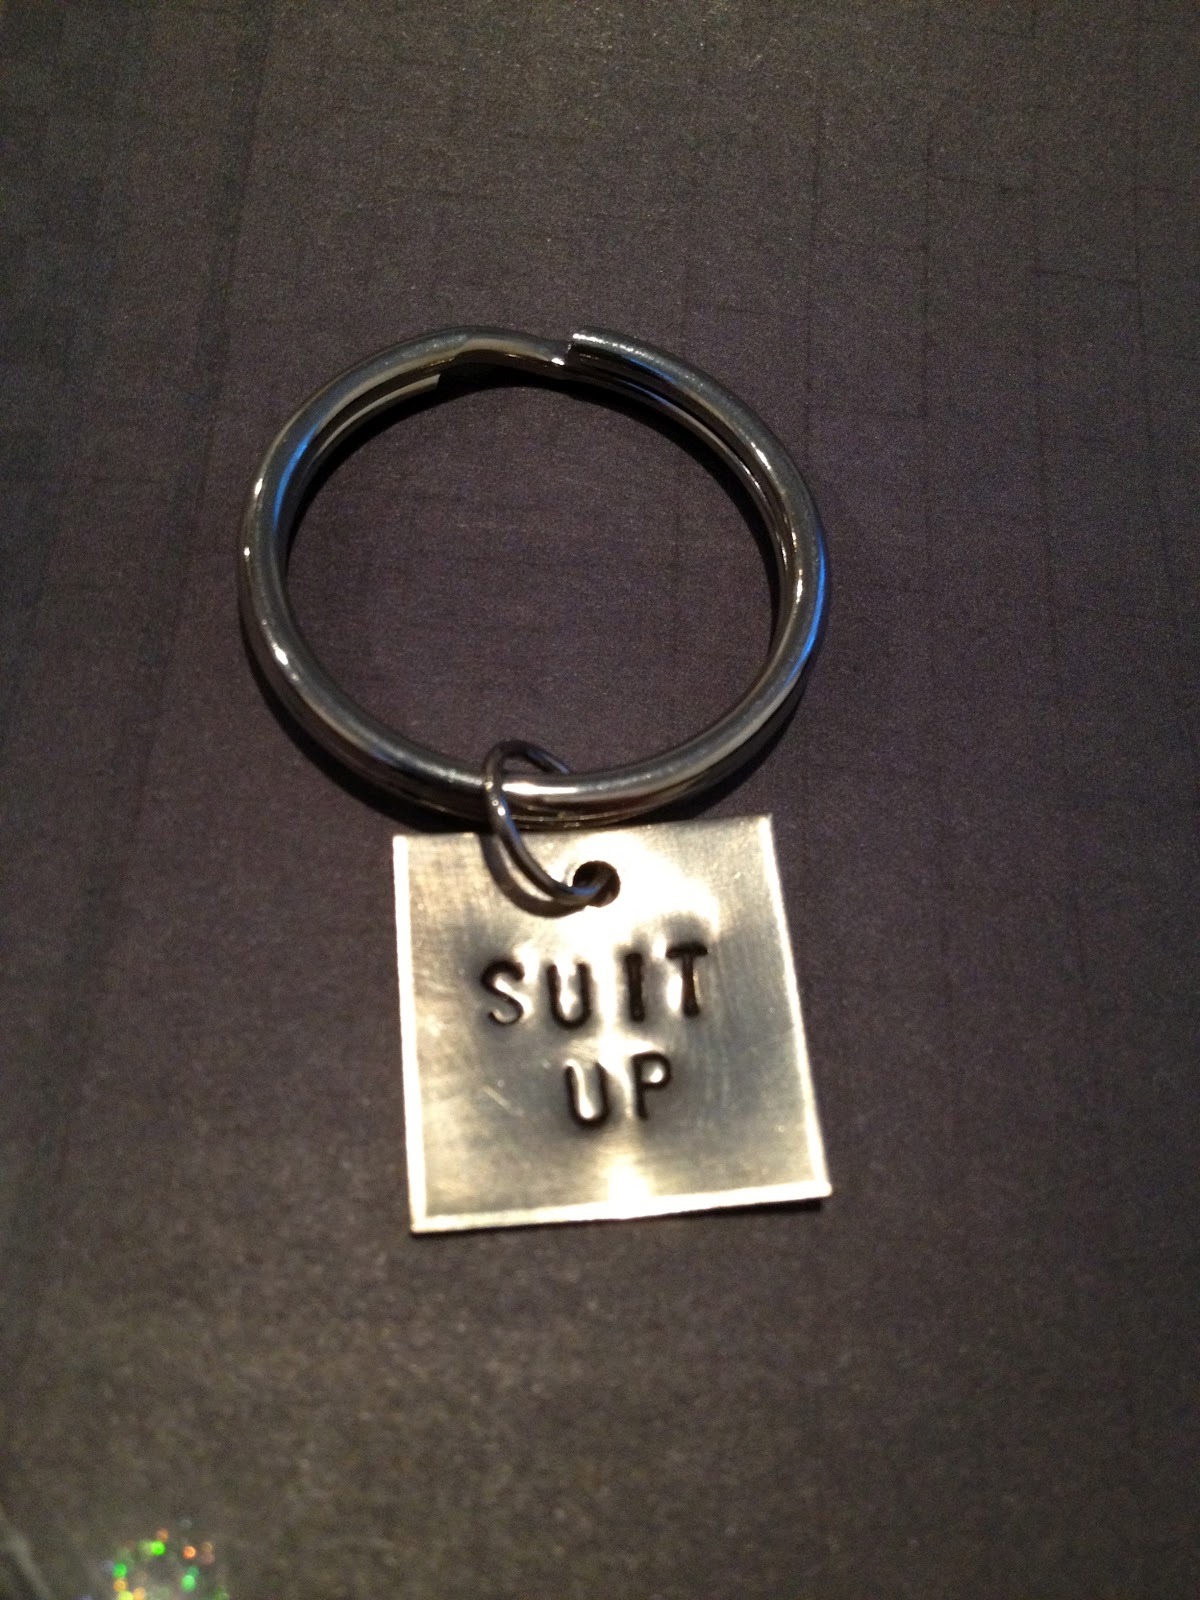
I made sure that the jars had lids that could be tightly sealed so that sand wouldn't come out, just in case. I also stamped some metal tags to give it a little more personal touch. Then I braided the string around the top of the jar so it wouldn't fall off.
The rest was relatively simple. I put on the stickers first so that sand wouldn't get stuck to it. I put some both inside and outside, as well as some on the top of the lid. Then I poured in the sand and mixed in some of the shells and flowers. Then I added the pictures. The small jar was quite full, while the larger jar was rather empty so that they have plenty of room to add all the stuff they will do together!
This is what the finished product looked like!
So these are the finished memory jars! I think with all of the supplies it cost me about $30. And they loved it! It was a cute personal gift that can store all of their new memories together while reminding J of all the great times she had in the past.
Hopefully more DIY entries to come!
Jenny